There's so many things I want to post but with it being close to Valentines Day I figured I'd post about a Valentine piñata I made last year. You can use these instructions to make lots of different shapes of piñata, it doesn't have to be a heart.

Materials needed:
Cardboard boxes
Scissors
Box cutter/serrated knife
Packing Tape
Wire
Flour and Water or your favorite paper mache mix
elmers glue
tissue paper
Step 1: Figure out what shape you want.
I wanted a heart which isn't the easiest but I found when all was said and done it looked really great even if it wasn't round. You can make round piñata's but you would have to do paper mache over balloons and it would take a lot of time and I decided to make one the day I needed it. So how to do it really quick? Make your design simple with straight edges and corners instead of curved. So my design for the heart piñata looked like this:


I didn't have a large box but I had a bunch of small boxes. So I was able to do half of the heart and then I had to trace it on another piece of cardboard and cut it out. I made sure to have the middle overlap a bit, but this meant I had to cut away the excess at the bottom. Also, since this is going to be a box I needed a front and a back so I ended up cutting out 4 heart halves. I used scissors to cut the cardboard but you can also use a box-cutter and cut it out over a cutting board.


For the sides I wanted strips that were about 4 inches wide and as long as I could get them to be. The scissors had been a bit hard to use so I got out a serrated knife and that worked better.


Step 3: Tape together.
I used the packing tape to tape the strips of cardboard onto the edges of the front piece. To get the strip to bend around an edge, cut through one side of the cardboard with the knife - DON'T cut all the way through! - and the cardboard will bend away from the cut a lot easier than just bending it with force.


As you can see from the photos, I had to use more than one strip. After I got the strip taped to the front I poked two holes in the top and put some wire through them to give something to hang the piñata from - I'm glad I thought to do this before I taped the back on.


(I may not take great pictures but now and then I take a lot so hopefully it's easy to understand)
When I went to tape the back on I realized somehow it wasn't the same size, luckily it was too big so I just cut off the excess.


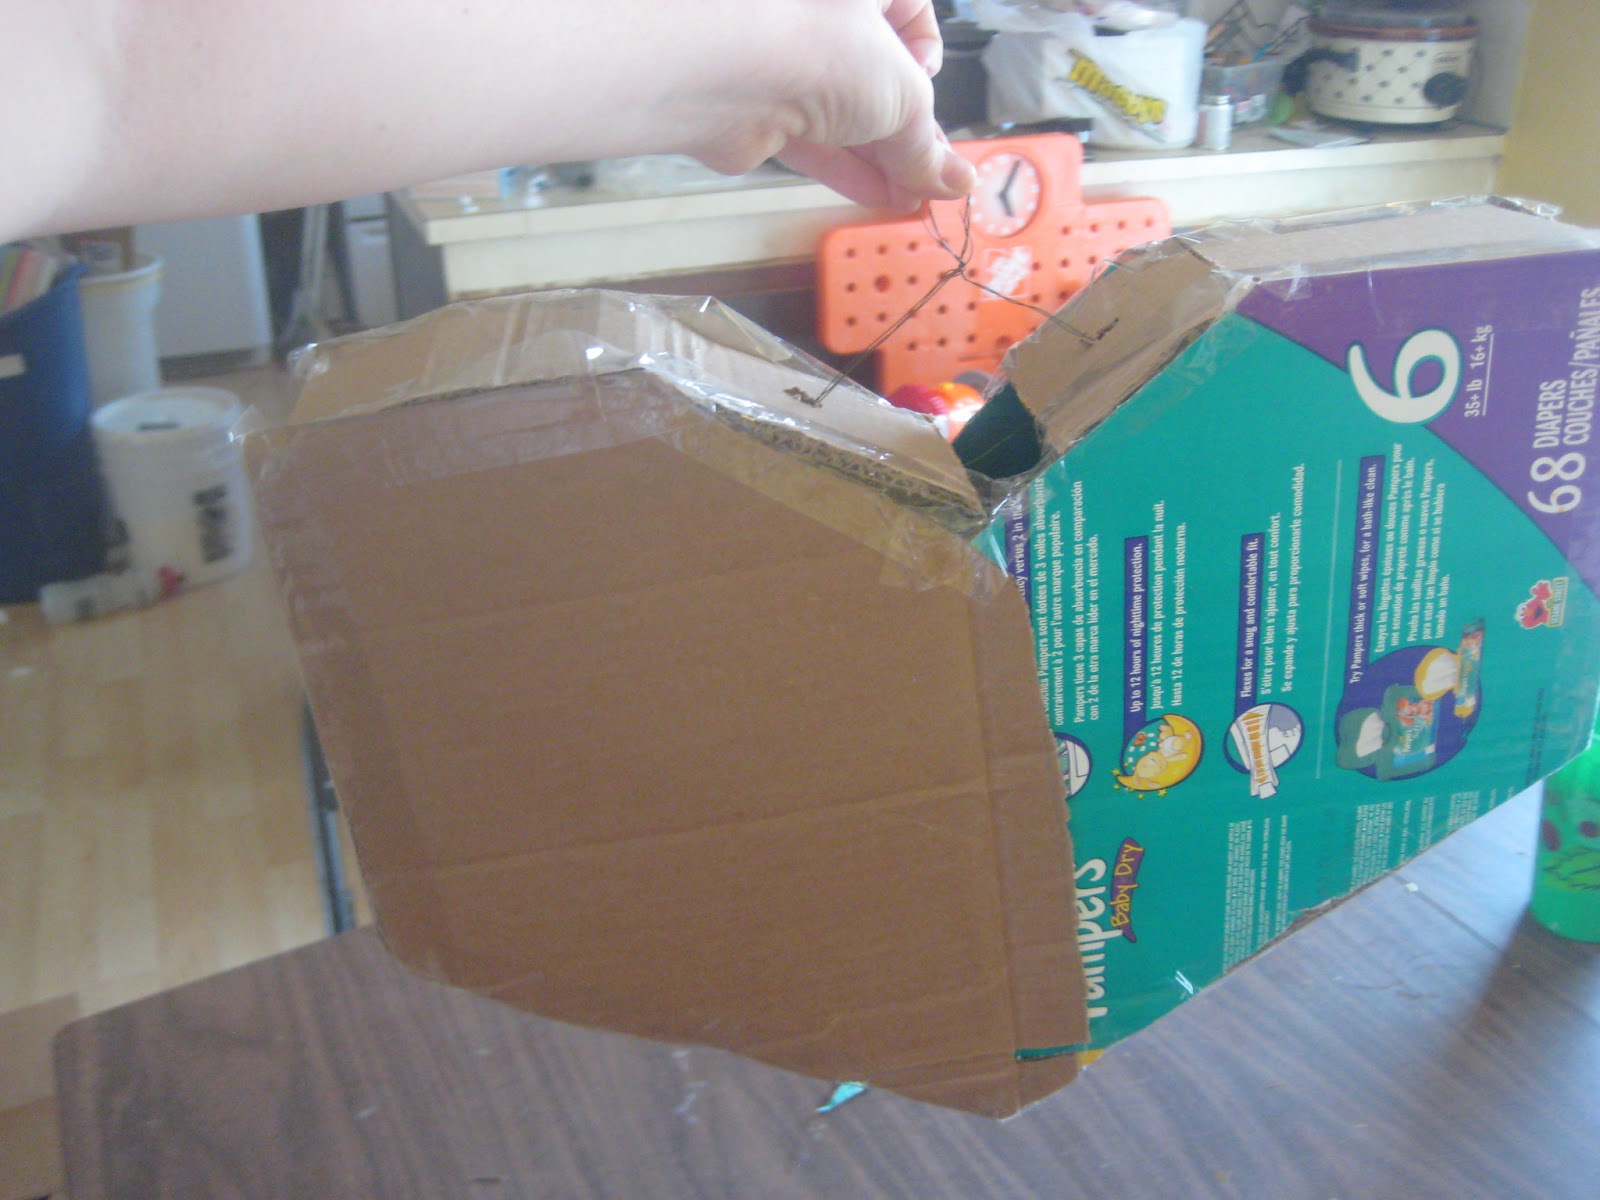
*Note how there's still an opening at the top - you want to have an opening to put the candy and/or goodies inside.
Since I was making this for kids to hit, I was worried it would be too strong so I cut some X's into the front and back with the serrated knife. (I'm glad I did this because it was really hard to break open even with those X's)

Step 4: Paper Mache.
I mixed up some flour and water to make a paste and did a layer of newspaper paper mache over the whole heart box. I ties some yarn to our ceiling fan and hung the piñata to dry for a bit.


Step 5: Tissue Paper Decoration.
You can buy all sorts of colors of tissue paper, the stuff you use to put in gift bags, in fact for this project you can use tissue paper that's already been crumpled and used in a gift so don't throw that stuff away next time you get a present. ;) I had an assortment of new and used tissue paper and it all looked great in the end. If your tissue paper is new it's already folded nicely but if it's used you want to fold it so you're cutting through multiple layers to make things go faster. Cut your tissue paper into long strips about 3 inches wide. Then, cut along the bottom of the strip at 1 inch intervals. Carefully unfold your strip so it's just one layer. When the paper mache is dry, put a line of glue along your piñata and stick the tissue paper onto the glue. I chose to alternate my colors and it looked really great! Don't forget to put tissue paper along the sides as well as the front and back.


I sadly didn't get a picture of the finished product but this gives you an idea of how it looked

Like I said above, it was hard to break open, but that made it so the kids got to hit it two times and some of the "kids at heart" got to have a swing at it too. (actually for a few people who weren't too happy that it was "singles awareness day" they liked the idea of hitting a heart with a bat)


No comments:
Post a Comment