Showing posts with label Holidays. Show all posts

Saturday, November 1, 2014

Halloween 2014

When I started a blog I had no idea I would have so little time to do it, or that the big drive to do a post would be so I could pin something on pinterest and have it credited to me LOL. And even now I don't have a ton of time but I wanted to share how awesome this Halloween turned out!

First is my Michelangelo Teenage Mutant Ninja Turtle Boy!
Found the costume at a thrift store and the shell at WalMart. He wanted his head shaved for his costume - yep we're a dedicated family. ;)  I did his makeup with Ben Nye green and orange and we sprayed his head. Even with powdering it off with baby powder to set the makeup he still was rubbing green off all over the place and the bath Halloween night left a green ring in the tub! LOL!


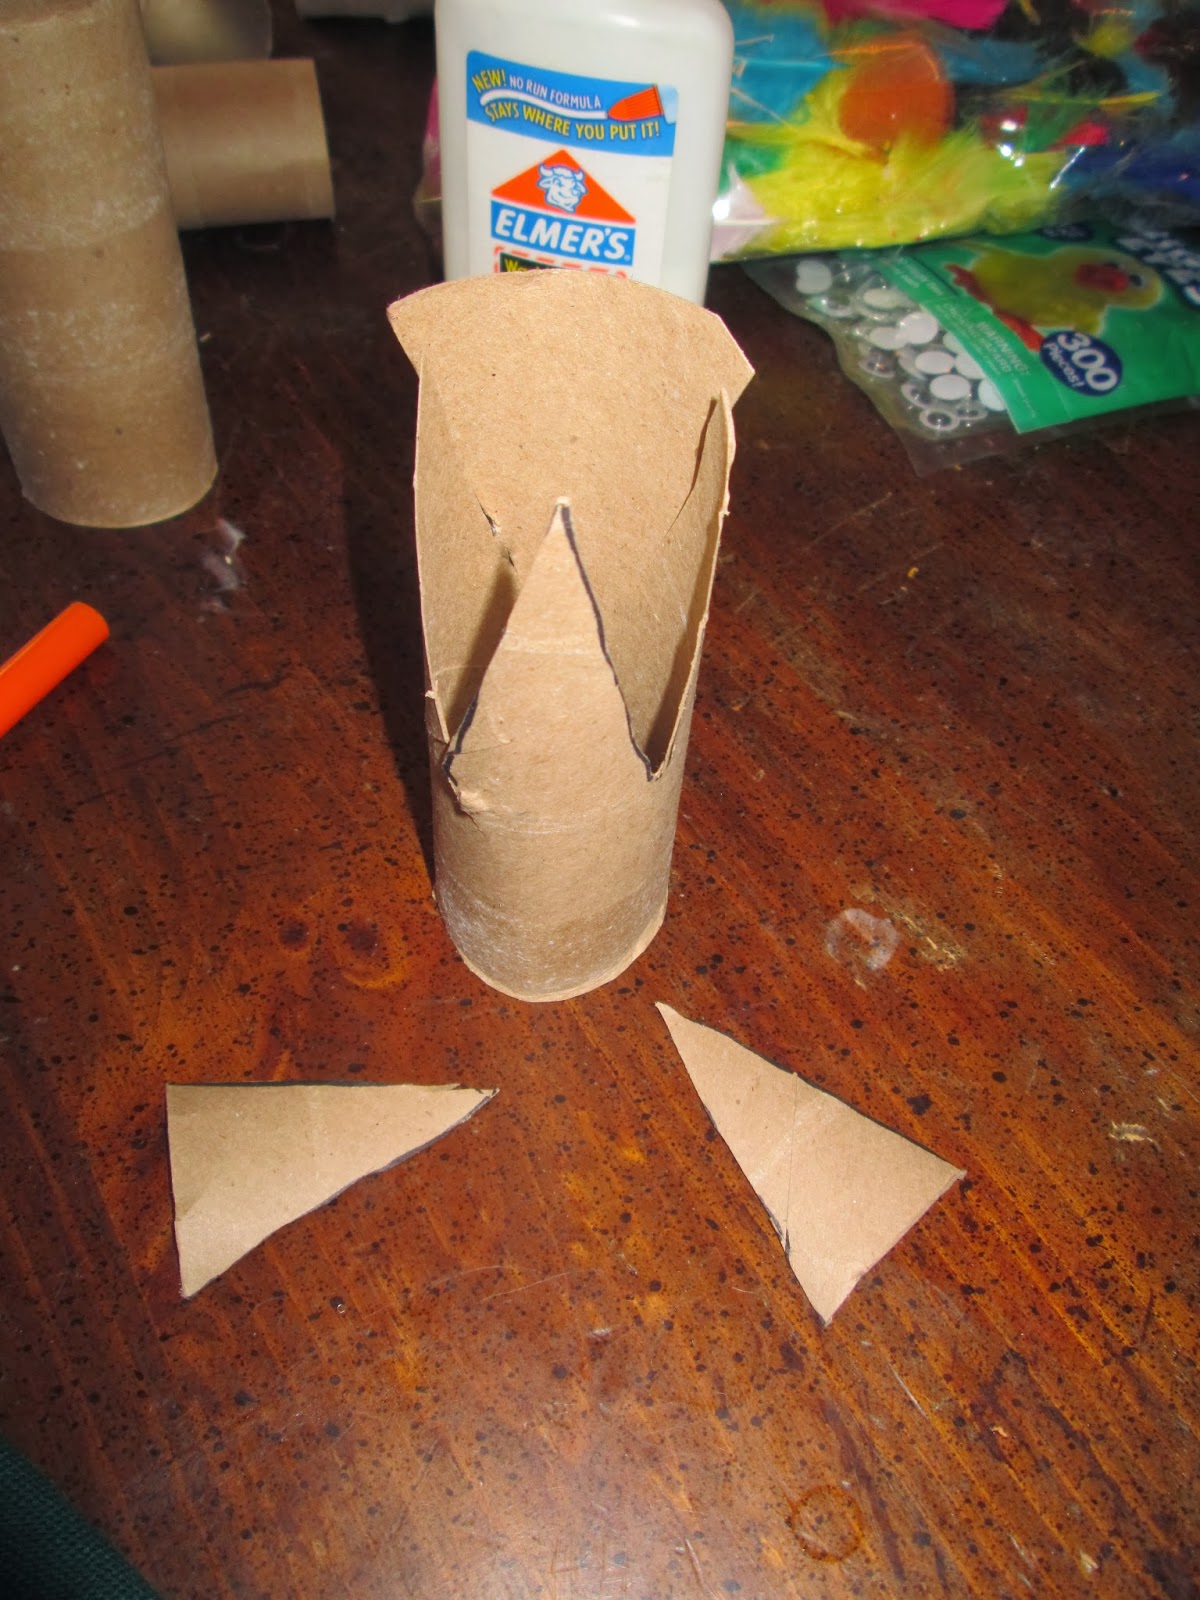
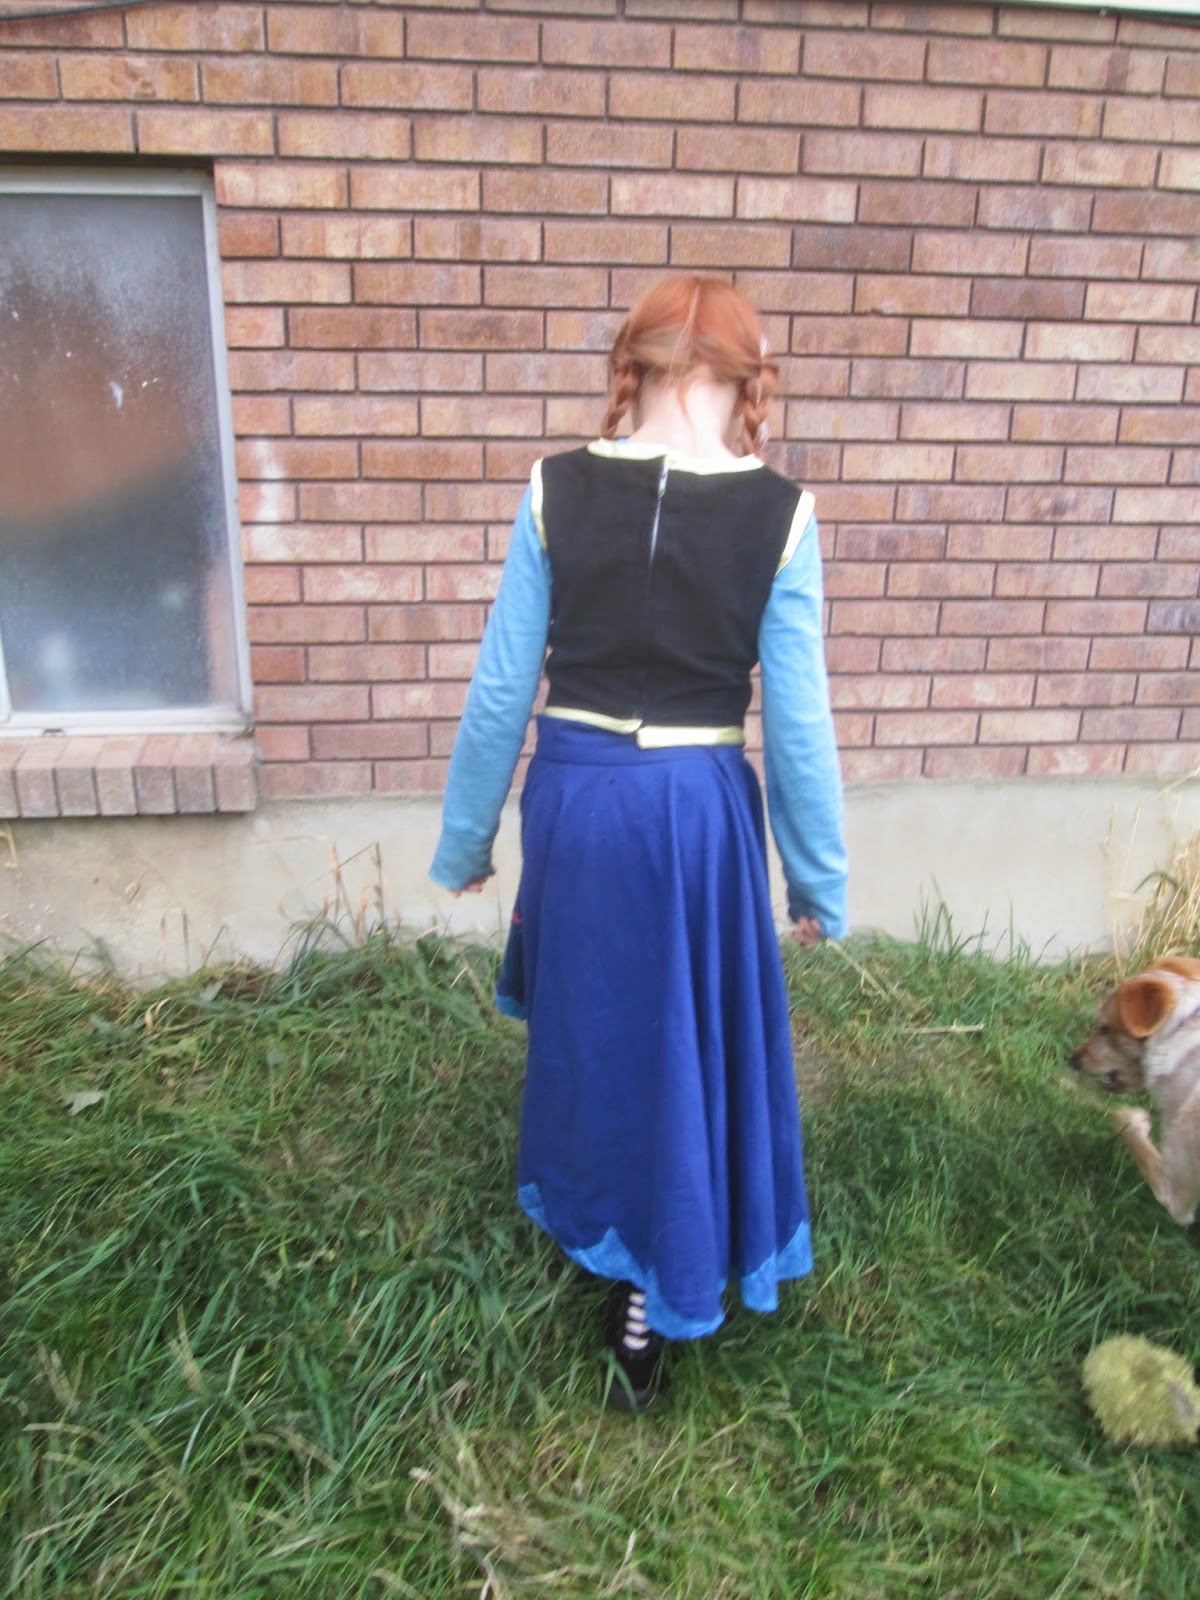
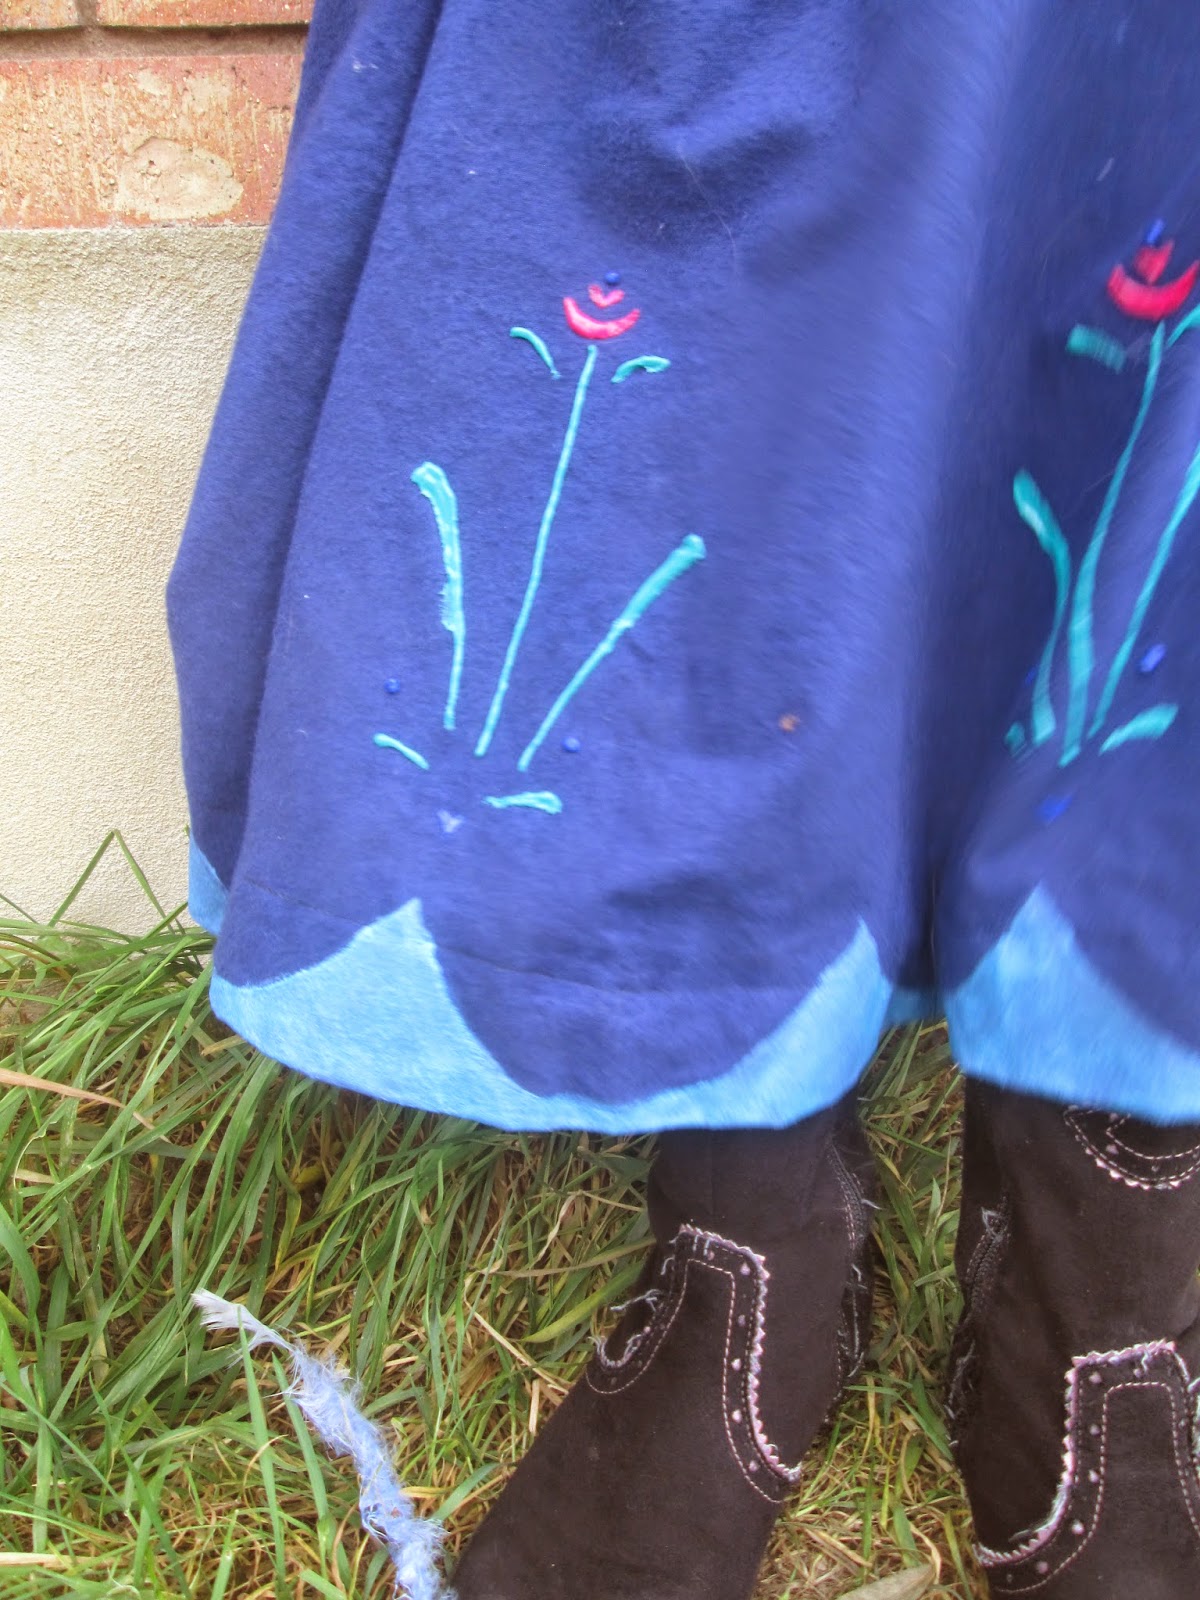
Next we have Princess Anna. There were tons of Elsa's but she was the only Anna at school. She had a light blue shirt but I made the bodice, skirt and cloak. I used puffy paint for the flower embroidery on the bodice and skirt and also for the light blue scallop on the bottom of the skirt. I used this guide to look at, I didn't make a stencil just freehanded it but it was very nice to have the guide to look at. I used this tutorial for the cape. Also, we dyed her hair red. Yep, no fake wig or messy spray - we did the real stuff and she looks great with it! I used Ben Nye white hair paint for the stripe. We even found her some great boots!  I'm so happy with how the whole thing turned out, she looked perfect!


These two together were very cute and funny.


And for me - I was going to be a dead bride but I recently started working in the kids school lunchroom (yep, I'm a lunchlady!) so big poofy white dress wouldn't work so well.  So Halloween morning I was trying to figure something out, I was thinking of doing a Day of the Dead makeup when I found my Nightmare Before Christmas skirt so I figured I'd do more of a Jack makeup and then I thought it would be fun to do half Jack and half Sally.  It turned out so nice and I got a lot of compliments - I might do that more often, simple costume or no costume and focus on some cool makeup instead.


Happy Halloween!!

Wednesday, November 20, 2013

Turkey place cards/napkin rings

If you look up toilet paper turkey crafts there are a ton out there, but this one is a bit different and was fun and easy enough for my 4 year old to do so I thought I'd share. Plus, you can use them in two different ways! :)

Turkey Place cards

Turkey Napkin rings


The items you will need are:
toilet paper tubes
black and orange marker
googley eyes
feathers
glue
cardstock for name cards


With the black marker, draw three peaks with the middle one being a bit skinnier. If the toilet paper tube were cut along the back and laid flat the peaks would look like this:
Here's how it looks on the toilet paper tube:
Cut on the lines. It's easiest to cut down instead of trying to cut down and up.


 Here's how it looks all cut:
Now you will fold the peaks down. I drew horizontal lines on this one to show you where to fold:

 The middle peak gets folded twice to make the turkey head. Kids can fold them down but they might need a bit of help. It can help if you bend the wings so they fit around the tube shape but this can give it a different look.


 Now you get to do all the fun decorating stuff! Color the beak orange, glue on the eyes and glue on some feathers.
Don't I look so cute?
 Then you make a little name card and it can fit between the head and the wings or you can slip the napkins inside for a cute napkin ring.


 We made a whole bunch of them and it was a lot of fun!
 Have a great Thanksgiving!